TEC PFE Replica #3: Linking
Now that we have everything in place, it's time to link everything together.
The Display Part
Here's where we can modify the current bus display. We'll use the store to get the data and display it.
We start by handling user input with a simple linked list. This is because we don't know how many digits the user will input, and it's easier to pop the last element of a linked list and convert it to a string.
When a button on the keypad is pressed, we send a callback with the action (like "add_digit") and the value. The parent then adds the digit to the linked list and updates the display.
After the user inputs the line number, we use the store to get our ORM and find the matching lines. We then display them in a popup window.
Results
Here's the basic implementation and conditional display of the popup. I've also added a reset button for convenience. If there's no running service, it displays "NO SERVICE"; otherwise, we keep the one from the "afficheur_id" in the trips table.
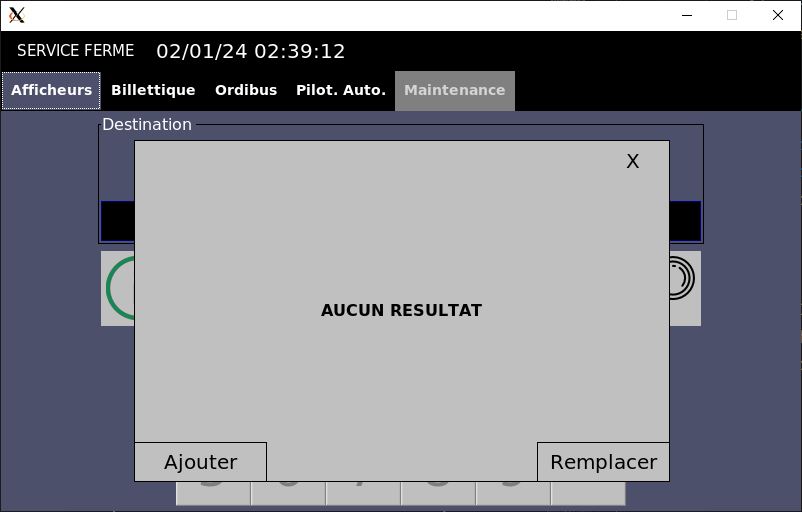
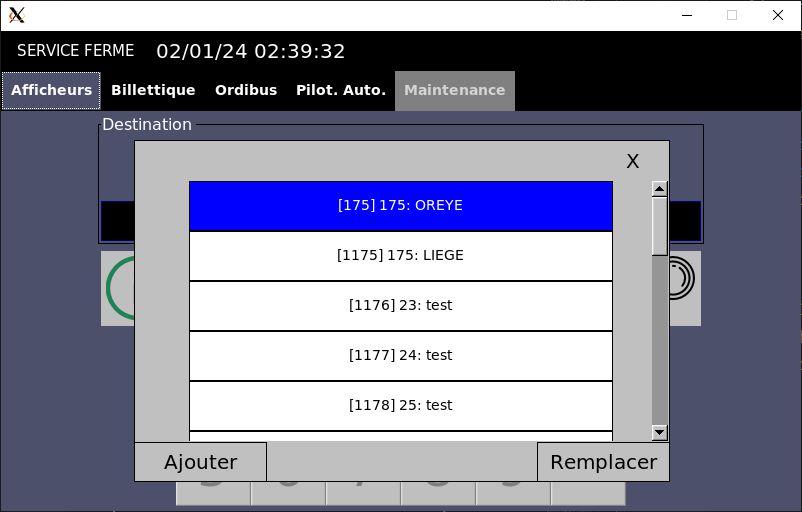
The format is [afficheur_id] line_number : destination. The "Add" and "Replace" buttons manage how the display is updated in the store.
For removing a display from the store, we use another popup with the list of current displays for the user to choose from.
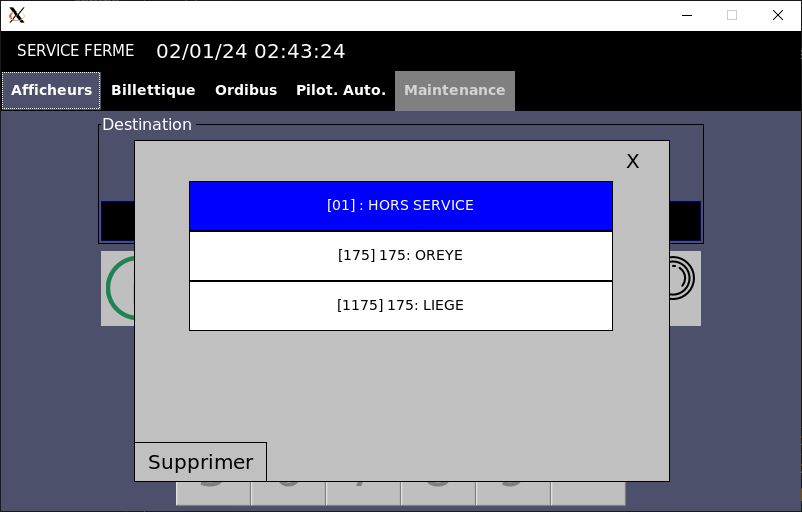
This is designed for a touchscreen, where dragging the finger scrolls the list.
Billetique (Ticketing)
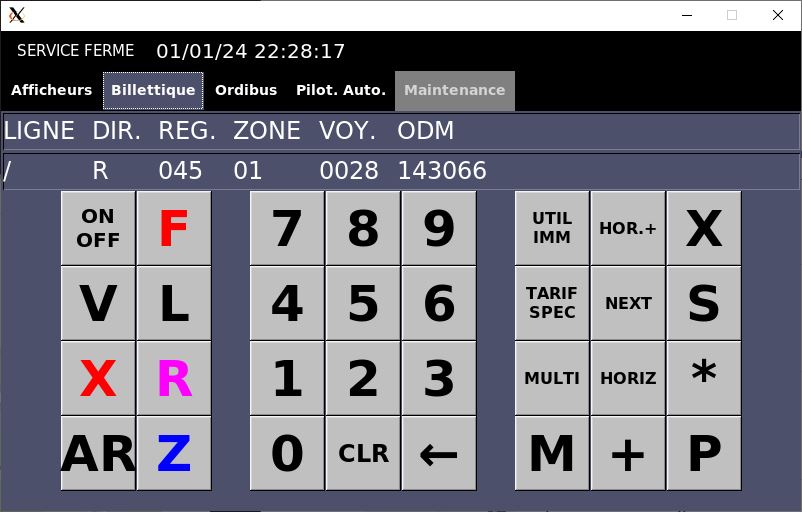
In the ticketing section, only the line number is linked to our store. The layout is carefully managed to maintain alignment and avoid offsets.
Ordibus (Bus Order)
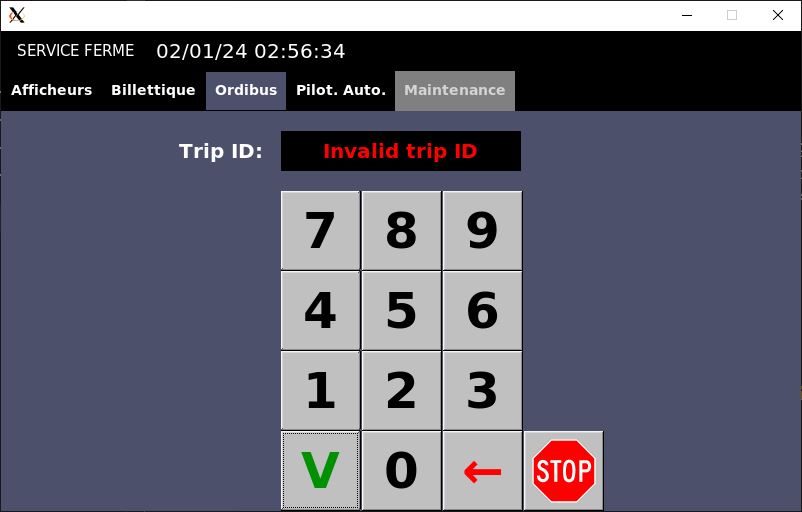
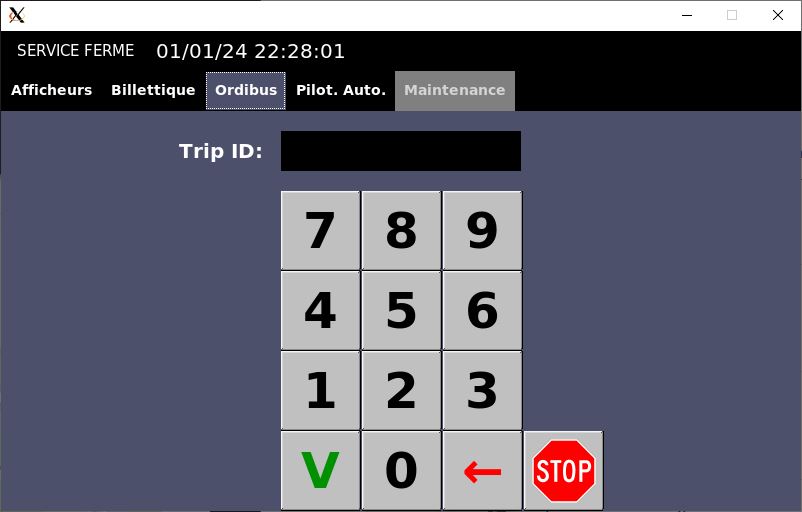
This section includes a reset button for the service. Like the display part, we use a linked list for input. When a line number is validated, the store provides relevant trip information.
If the trip id is not found, an error message is displayed.
Auto. Pilot. (Automatic Pilot)
Here, we can check the current status of the line, stops, and trips. There's an overwrite mode for GPS errors and displays for delay and current service.
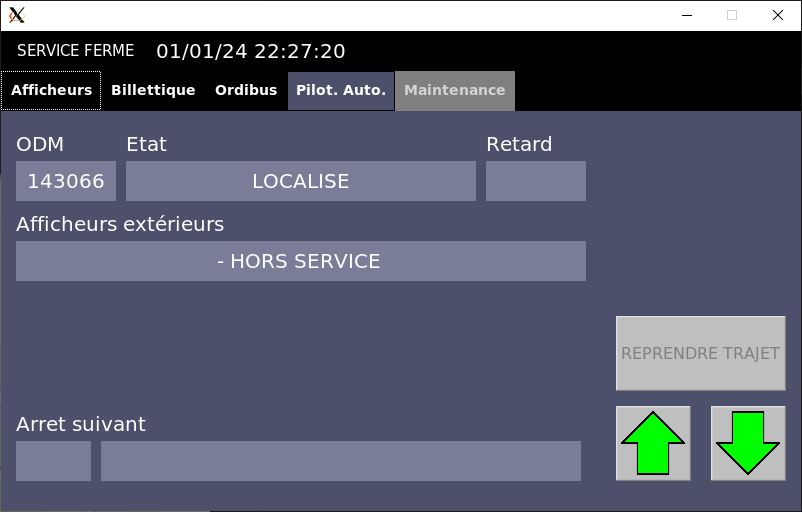
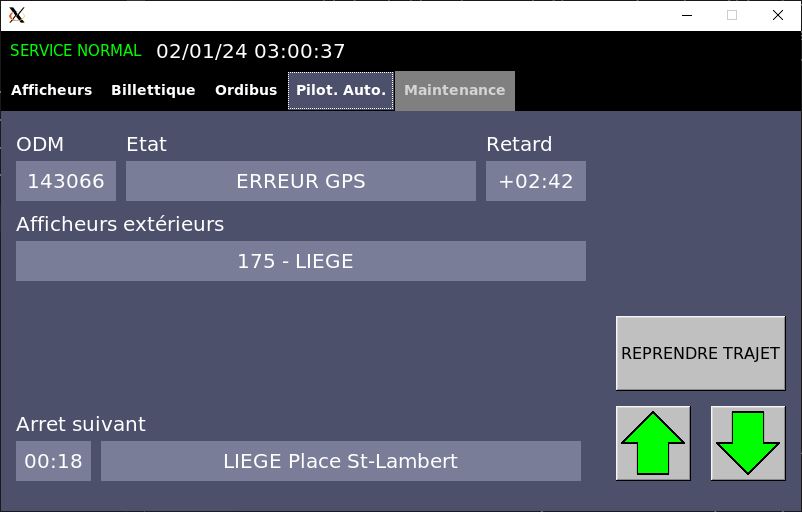
The service indicator updates based on the current service status.
Conclusion
- Now: We have a complete UI, with features to change the display, check current trips, delays, and service status.
- Next: The next step is to compute delays and display them on the screen.